Traffic lights with Arduino
Published on:
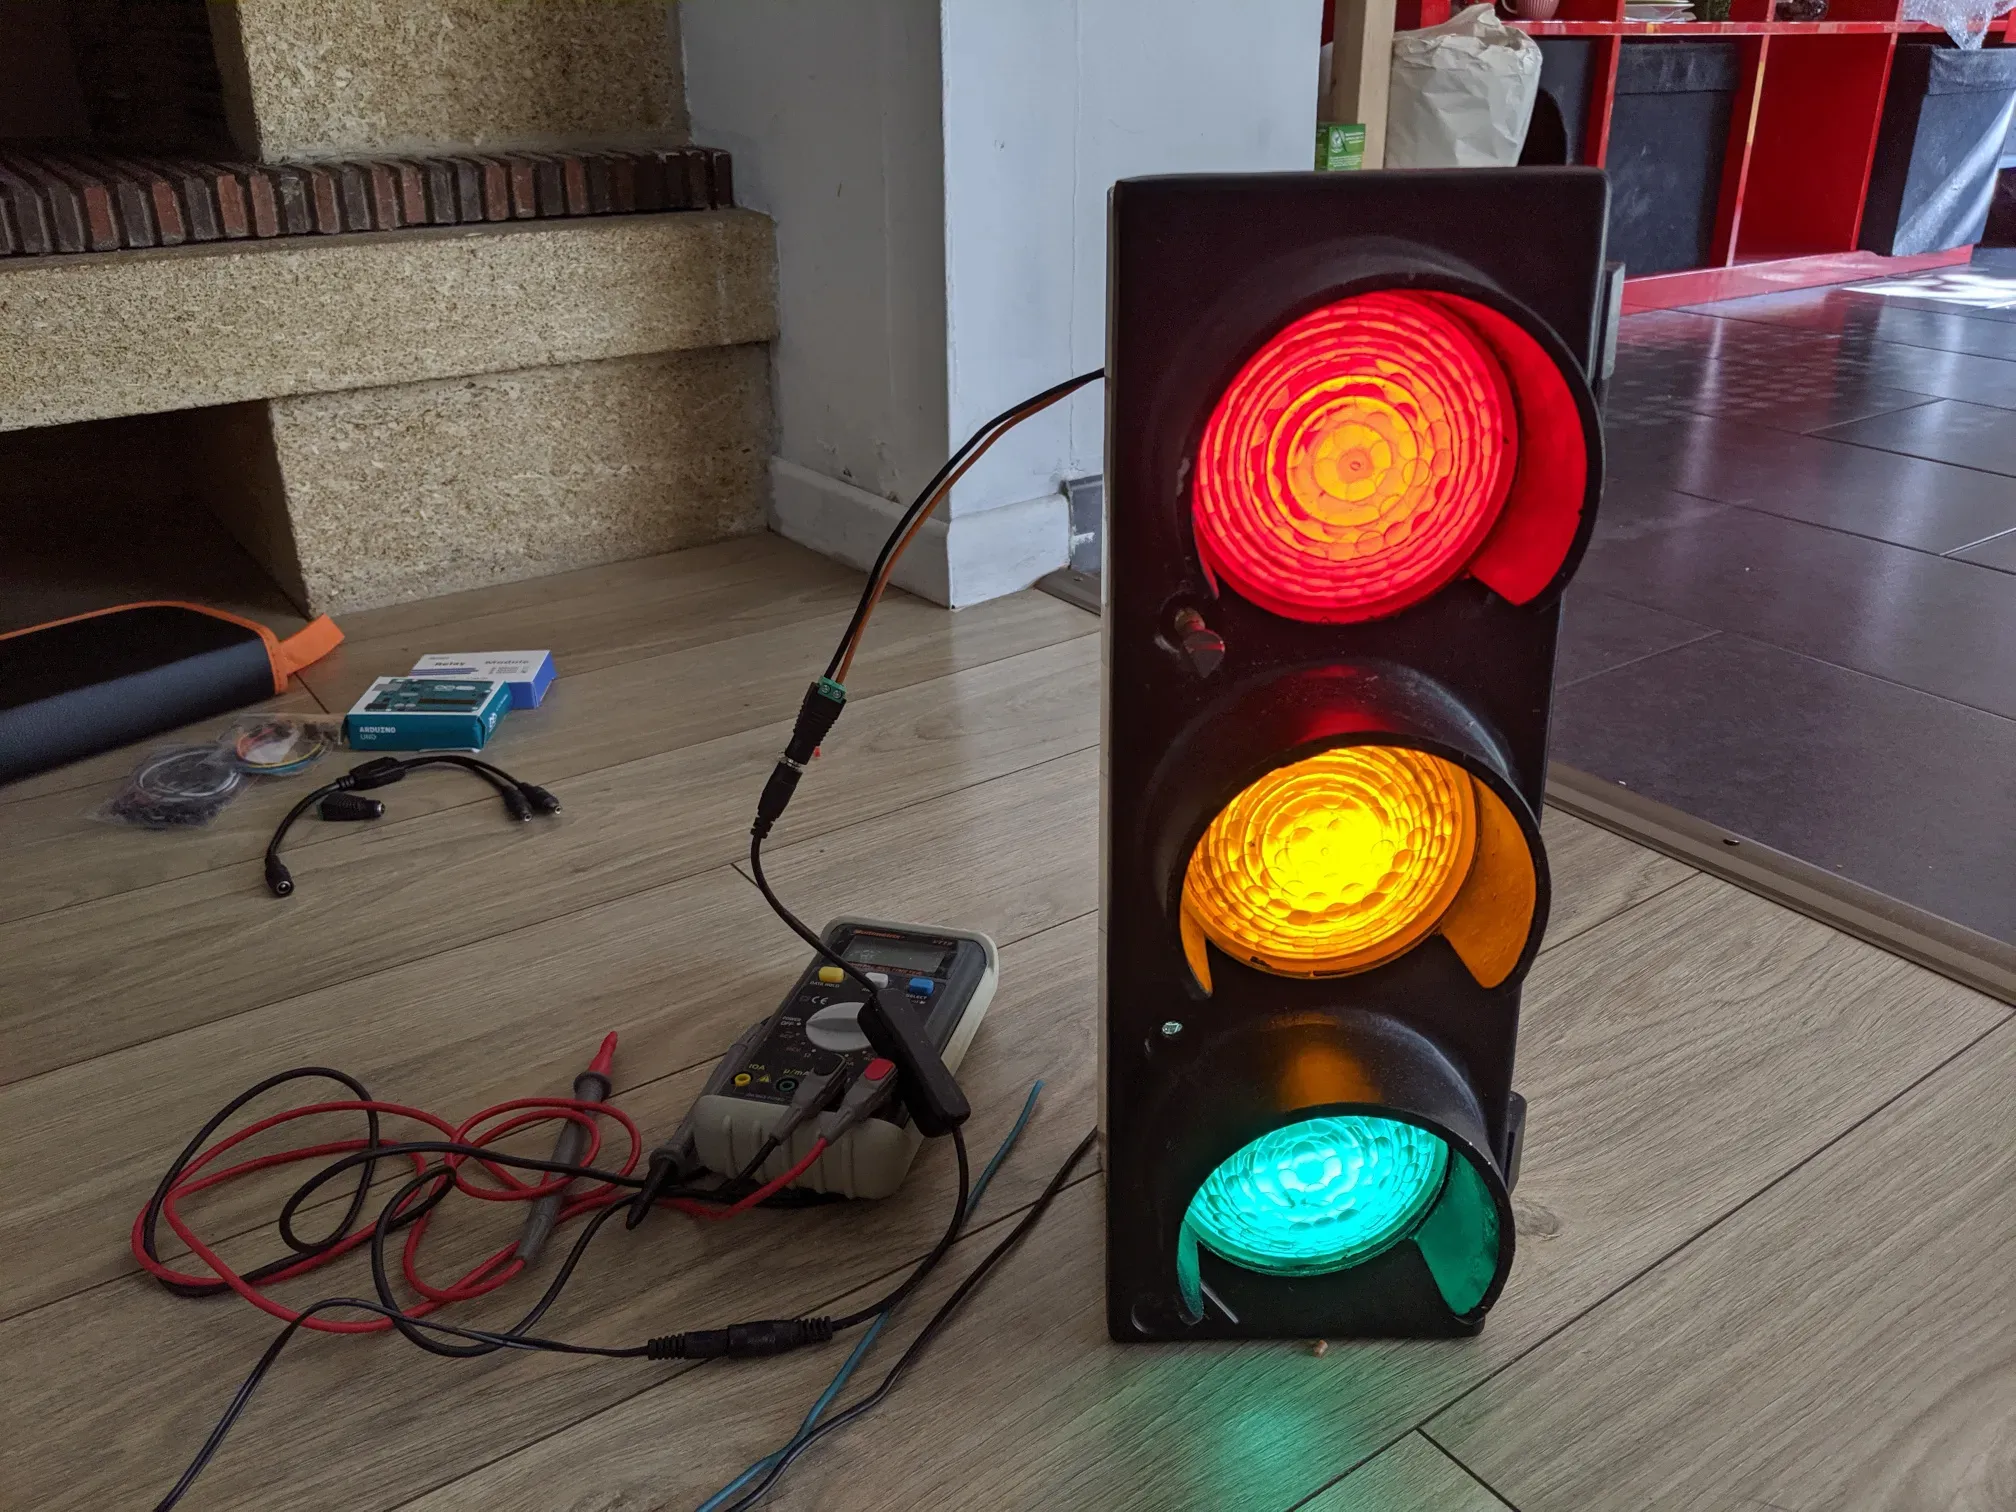
It’s amazing what you can find at a flea market! I recently bought some remnants of a traffic light, and I decided to take on the challenge of getting it to work.
Goal: Restore the traffic light and make it display patterns to create an ambient traffic light setup at home! However, I had one important restriction: I didn’t want to work with a 230V power source. Since I’m not an electronics expert, I wondered if it would be possible to use a simpler DC power source. Surely there must be existing circuits I could use to avoid soldering resistors or transistors myself, right?
Opening of the traffic lights
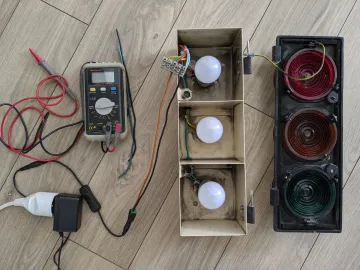
Inside, the traffic light was mostly empty—just a few bulb sockets with some remaining wires. There were no electrical circuits at all, but plenty of space to add some.
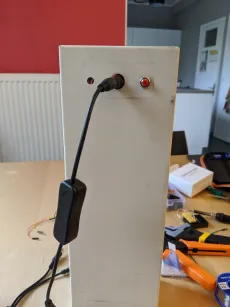
Each section of the light was closed and had no holes, except for the top part, which had two holes. These could be used for inserting a button and a power cable.
After a bit of research, I discovered 12V DC LED light bulbs that fit standard bulb sockets. Luckily, the Arduino Uno can also be powered by a 12V power source.
Required material
- 1 Arduino board
- A 12V power supply
- Three 12V light bulbs
- A MOSFET transistor board that can drive 12V devices using a 5V signals
- Various Dupont cables, or better yet, a kit for making them
- A switch to connect the power supply to the Arduino
- A push button
- A soldering iron and tin solder wire
- A multimeter (useful for testing wires and connections)
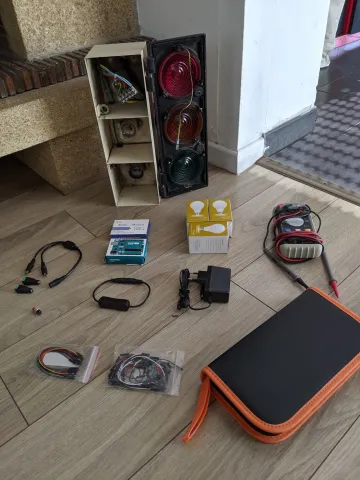
Initially, I tried using relays (as seen in some photos), but since the light patterns change frequently, the relays were quite noisy. Eventually, I replaced them with MOSFETs for quieter operation.
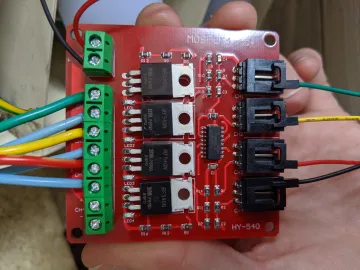
Here is the wired circuit I found with MOSFETs. It also contains optocouplers, so the 12V and 5V circuits are fully decoupled.
Wiring
Here is how I wired the components.
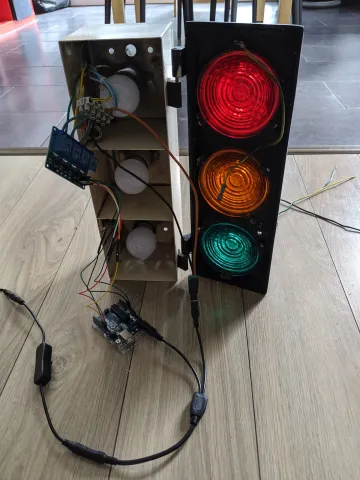
Cable organization
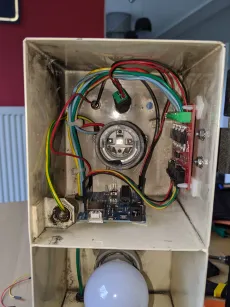
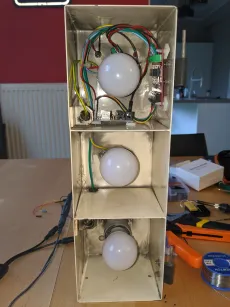
All of this wasn’t very visually appealing, so I decided to tidy things up.
By using custom-made Dupont cables to ensure the wires weren’t too long and by attaching them with adhesive plastic supports, the result was much neater.
Source code
The source code is available on GitHub:
The code implements several patterns that can be changed by pushing the button.