Generate Nearby Notifications using Beacon Simulator
Published on:
Google Nearby technology is included in several recent Android phones. Using Bluetooth Low Energy, mobile apps can discover ambient services or surrounding devices and interact with them. Some basic use cases need an app to be installed (e.g. for file exchanges, …), however it is possible for Android phones to discover and react to some Bluetooth Low Energy signals without installing anything.
It is the Nearby Notifications variant of Nearby, and it includes the discovery of URLs or the advertisement of some mobile app references that will popup in the notification area of Android.
Usually, Nearby is triggered on a phone by using some special Bluetooth Low Energy beacons. The Android Beacon Simulator app that I have developed is compatible with Nearby broadcasts. We will use it to simulate a Nearby broadcast and observe how Android phones react to them. For instance it easy to broadcast a Twitter account reference around oneself!
2 phones are required to follow this tutorial.
Broadcast a web link - simple
We will broadcast my Twitter account reference: https://twitter.com/@vhiribarren
Prerequisites for a broadcast
When one wants to broadcast a Nearby web link, the following restrictions apply to the URL:
- The URL must be a valid HTTPS address with a valid signed certificate
- The URL must not target an app on https://play.google.com
- The URL can be minified, but it still must be a valid HTTPS address behind
- Other restrictions may apply, Google can modify which URL is valid or not
Fortunately, our example URL is valid for this demonstration. Beacon Simulator can broadcast any kind of HTTP URLs, but only the ones which validate the above criteria can be discovered by Nearby.
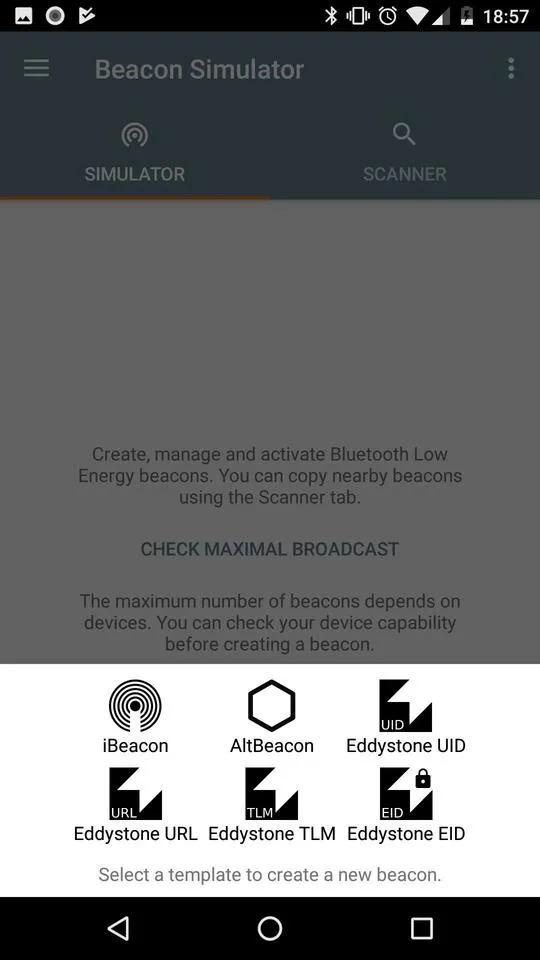
Nearby recognizes a Bluetooth Low Energy signal that uses the Eddystone URL beacon format. Let’s use it!
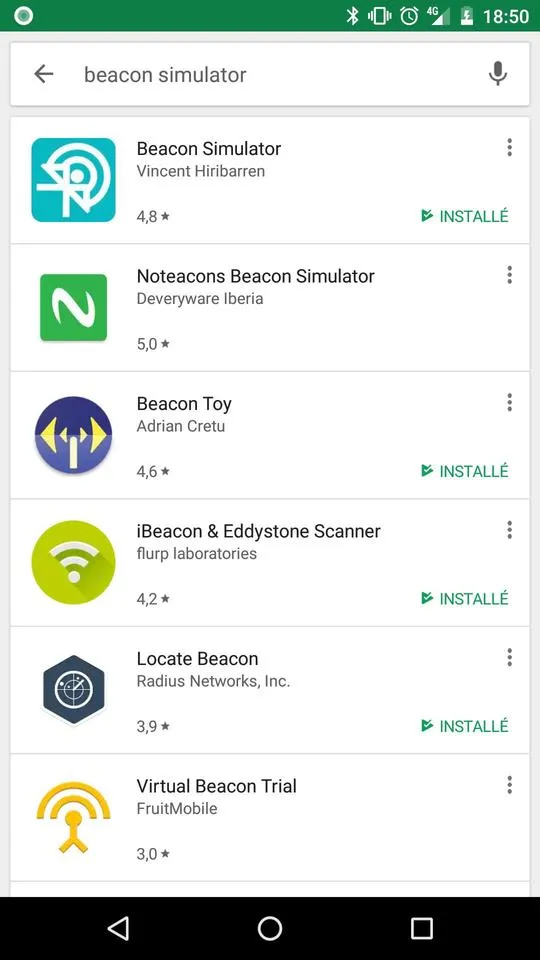
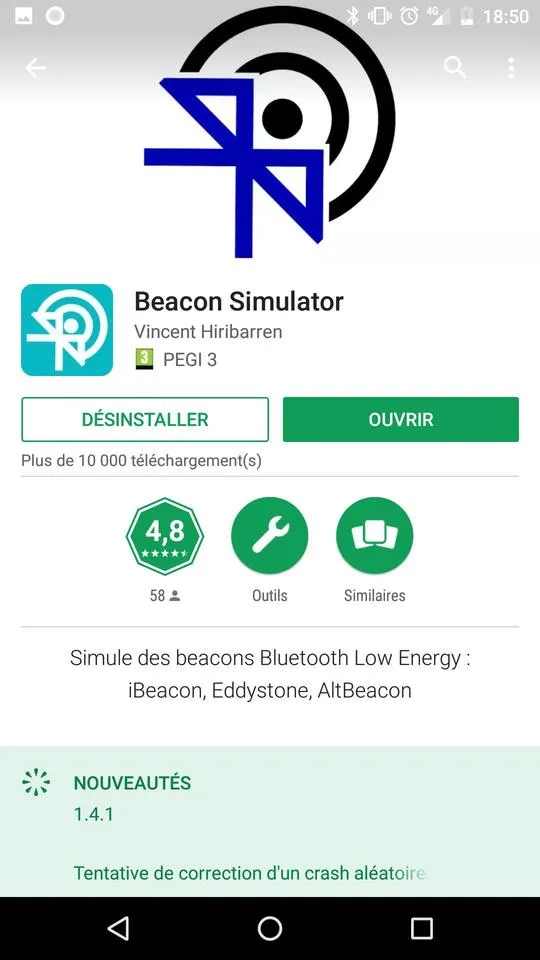
Step 1: install Beacon Simulator for Android.
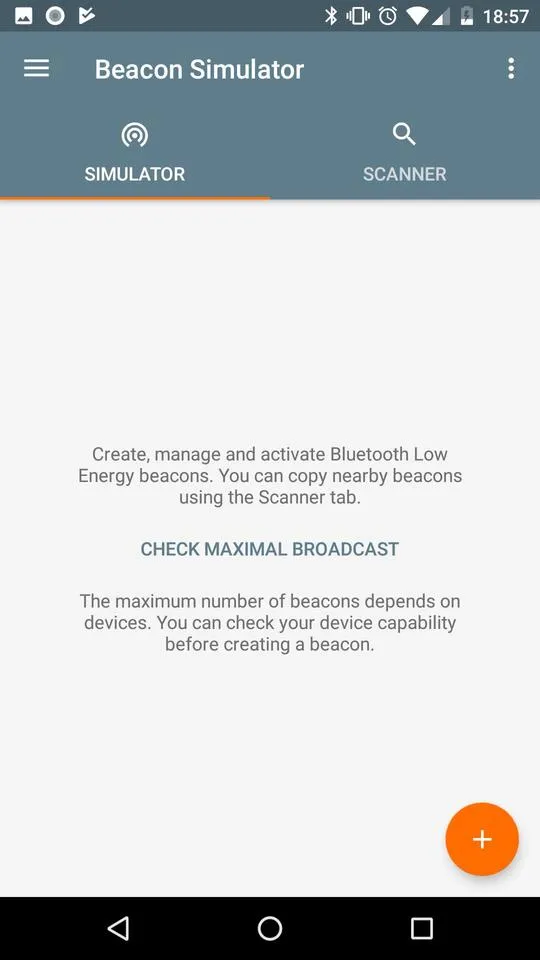
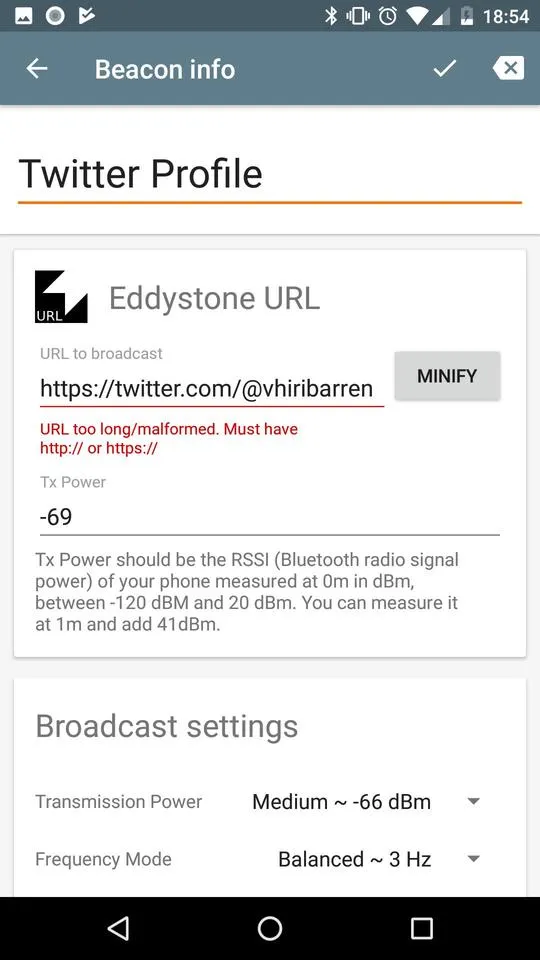
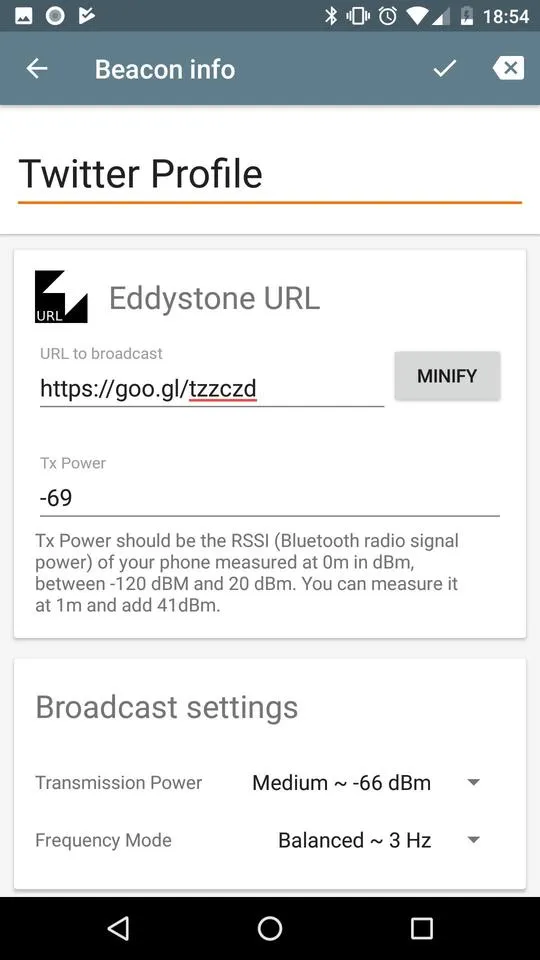
Step 2: create a new Eddystone URL beacon, and minify the URL; depending on the version, the app may tell you that the URL is invalid due to the “at sign”, but minifying the URL will solve the problem.
Step 3: start a broadcast.
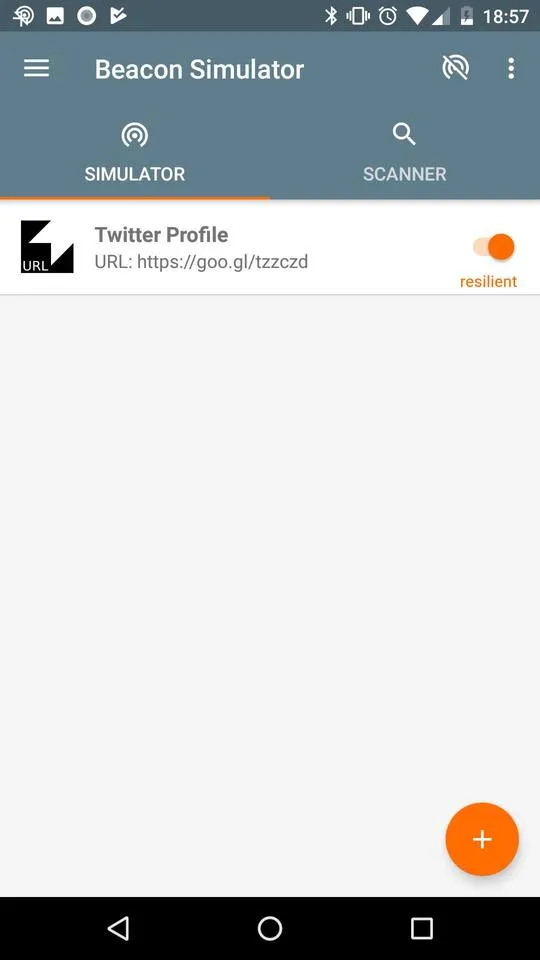
Notes:
- your phone may not be compatible with Bluetooth Low Energy broadcast. In this case, the app should tell you so
- you will need another phone to test the Nearby discovering, one phone cannot discover itself :-)
Prerequisites for a reception
If you want people around you to receive your web link without installing any app, the following requirements are needed by their phone:
- Android version at least 4.4 (KitKat)
- The hardware is compatible with Bluetooth Low Energy (should be the case with modern phones)
- Nearby is installed (should be the case with modern phones)
- Bluetooth is enabled
- Location is enabled
- Nearby was not turned off
If all is ok, a Nearby notification should appear in the notification bar. If that is not the case, try switching the screen off and on. The scan is sometimes triggered when the screen is switched on. It allows the phone to have a scan algorithm that avoid consuming to much battery.
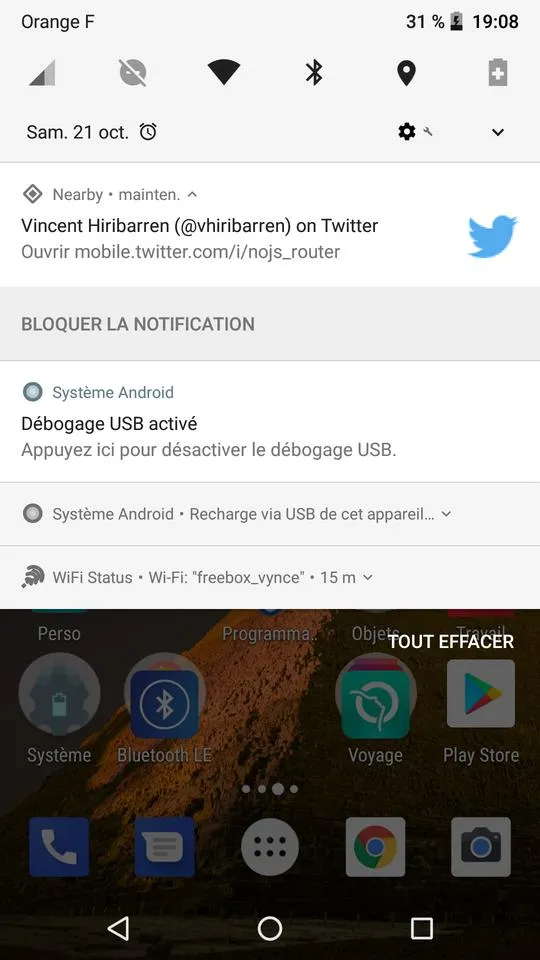
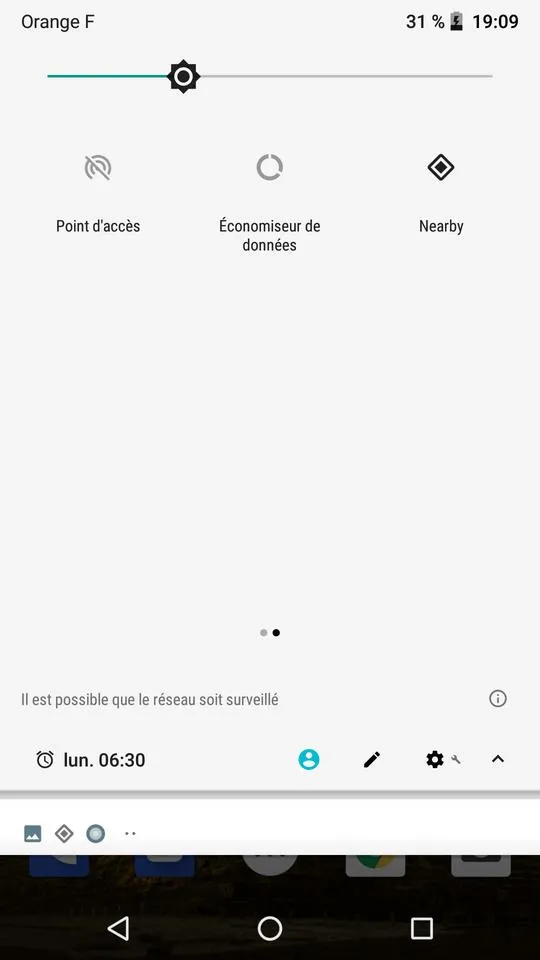
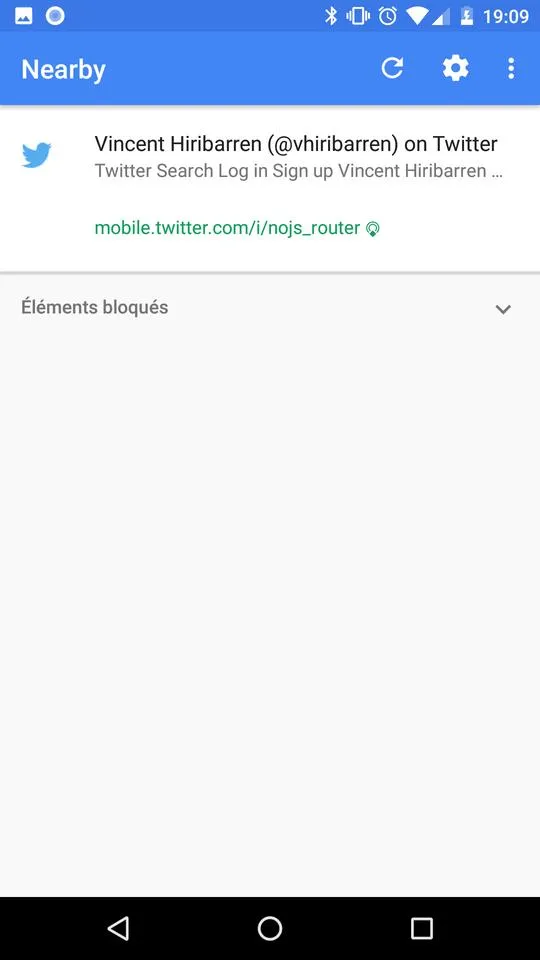
You can have more control on Nearby Notifications, usually by going to your phone settings. Here you can force Nearby scans, and also block notifications.
Broadcast a mobile app reference - advanced
We will broadcast a reference to Beacon Simulator.
To broadcast a mobile app reference - actually an Android Intent well known by developers - more work is required.
It is not possible to directly broadcast the URL of an app in the Play Store. However the available mechanism is more powerful, since it enables to:
- propose to download the app if it is not available
- launch the app with some specific parameters if the app is already installed
Broadcasting an URL is something simple immediately available to another phone. But for a mobile app, an Internet access is mandatory.

Actually, a Bluetooth Low Energy beacon (or our Beacon Simulator) broadcasts an identifier called Eddystone UID. When the mobile phone detects this identifier, it converts it by using an Internet service resolver. The result can be an URL, or the reference to a mobile application (an Android Intent).
Therefore there is a need to provision the resolver service to associate our mobile application to a beacon signal.
Prerequisites for a broadcast
Here we will have more job to do:
- generate an unique Eddystone UID
- create a Google API project
- install Beacon Tools app
- register the Eddystone UID with Beacon Tools
- add an attachment to the Google Beacon Dashboard
You will need two phones for this operation: one for the beacon simulator, the other one for the beacon registration.
Step 1: with Beacon Simulator create a new Eddystone UID beacon. The auto generated identifier should be ok, but you can choose yours. Start the broadcast.
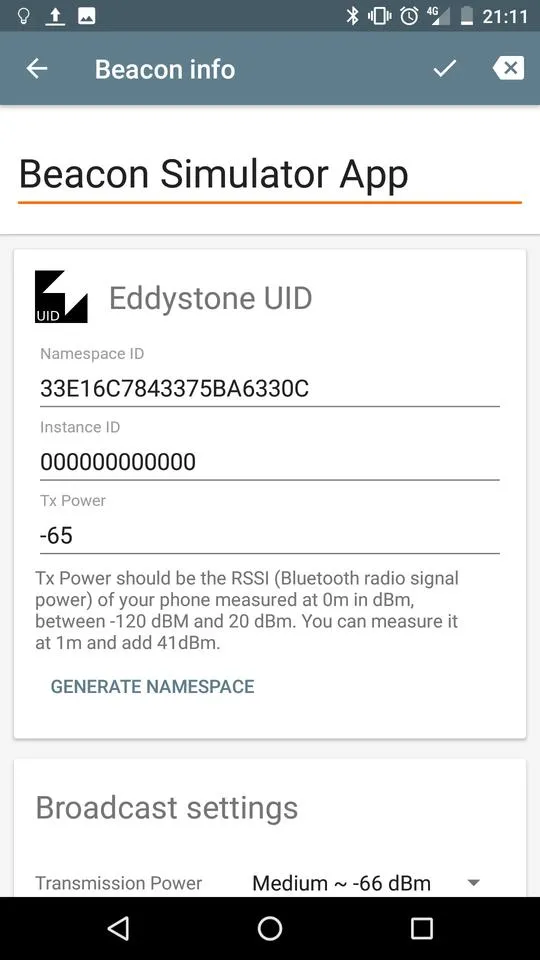
Step 2: you may need to create a Google API Project if you do not already have one. Just create one project, there is no need to configure more.
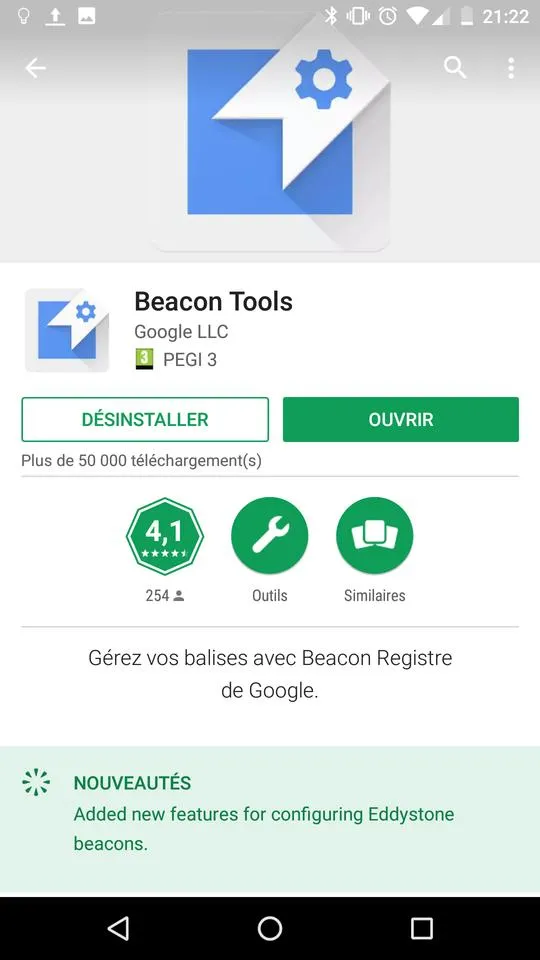
Step 3: on another phone, install Google Beacon Tools. You may have to select a previously created Google API Project.
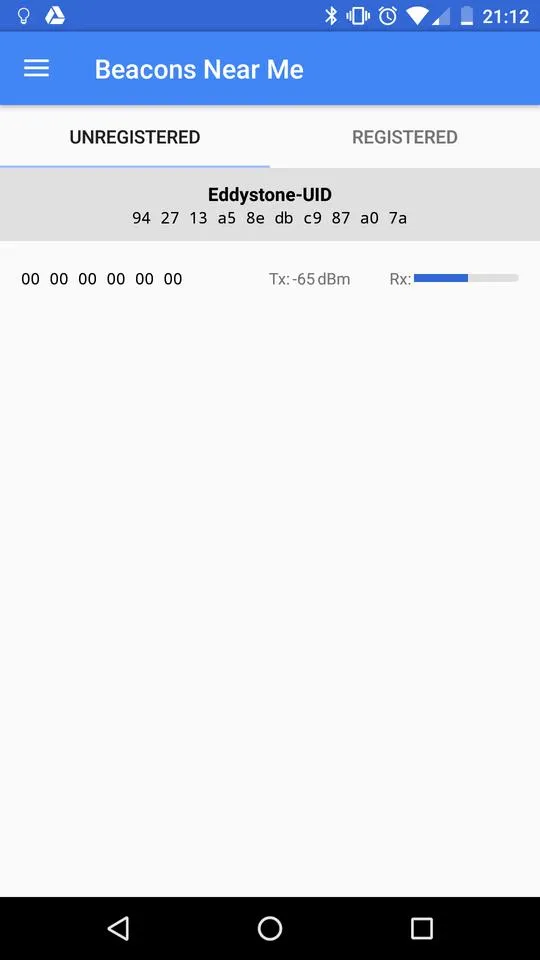
Step 4: with Google Beacon Tools, scan for the simulator. It should appear as an unregistered beacon. Click on it.
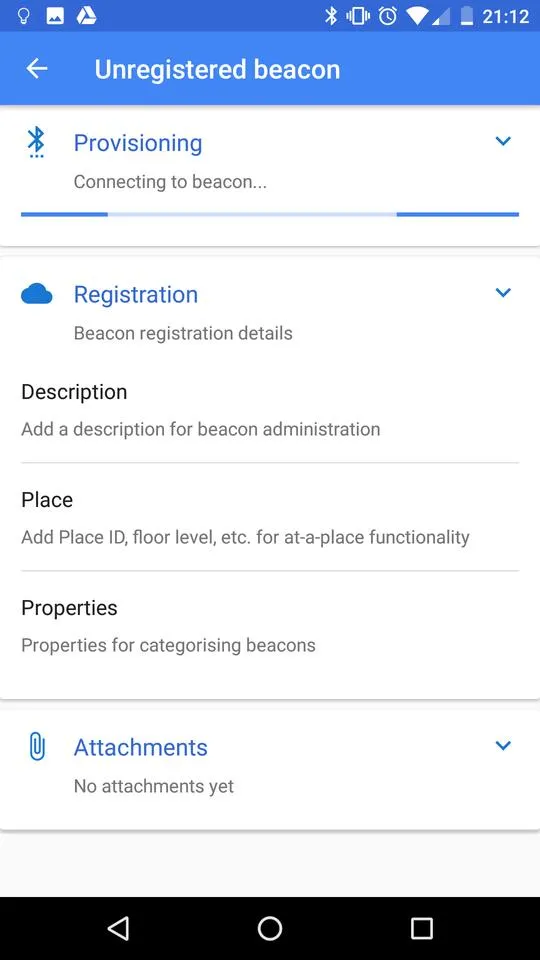
Do not pay attention to the Provisionning spinner: it is for real full compatible Eddystone beacons that have a GATT access (a way to configure Bluetooth Low Energy beacons).
You must at least fill the Description text field so the beacon is considered registered to your account. Once done, this beacon identifier is reserved for you. It is currently not possible to transfer it to another Google account.
Do not pay attention to Attachments: this is not currently compatible with Nearby Notifications, we will have to configure the identifier with another way.
Step 5: we can finally configure the newly registered beacon with Google Beacon Dashboard. There are also API to do that, do not hesitate to fully read the Nearby Notifications documentation.
Since I presume this dashboard is more for quick tests than to fully manage beacons, the interface is sometimes a little clumsy.
You should see a beacon with the previously created description. Click on it. Then click on > View Details > Nearby Notifications.
You have to set:
- a title
- a language code: it is really important, if it is not the one related to the language set up on your phone you may not view the notification
- production mode
- select App Intent, and fill the package name as the one of your app; it must be valid Play Store app since information will be fetched from the store (icon, …)
- the intent scheme is for internal use of your app, you can select something simple to start
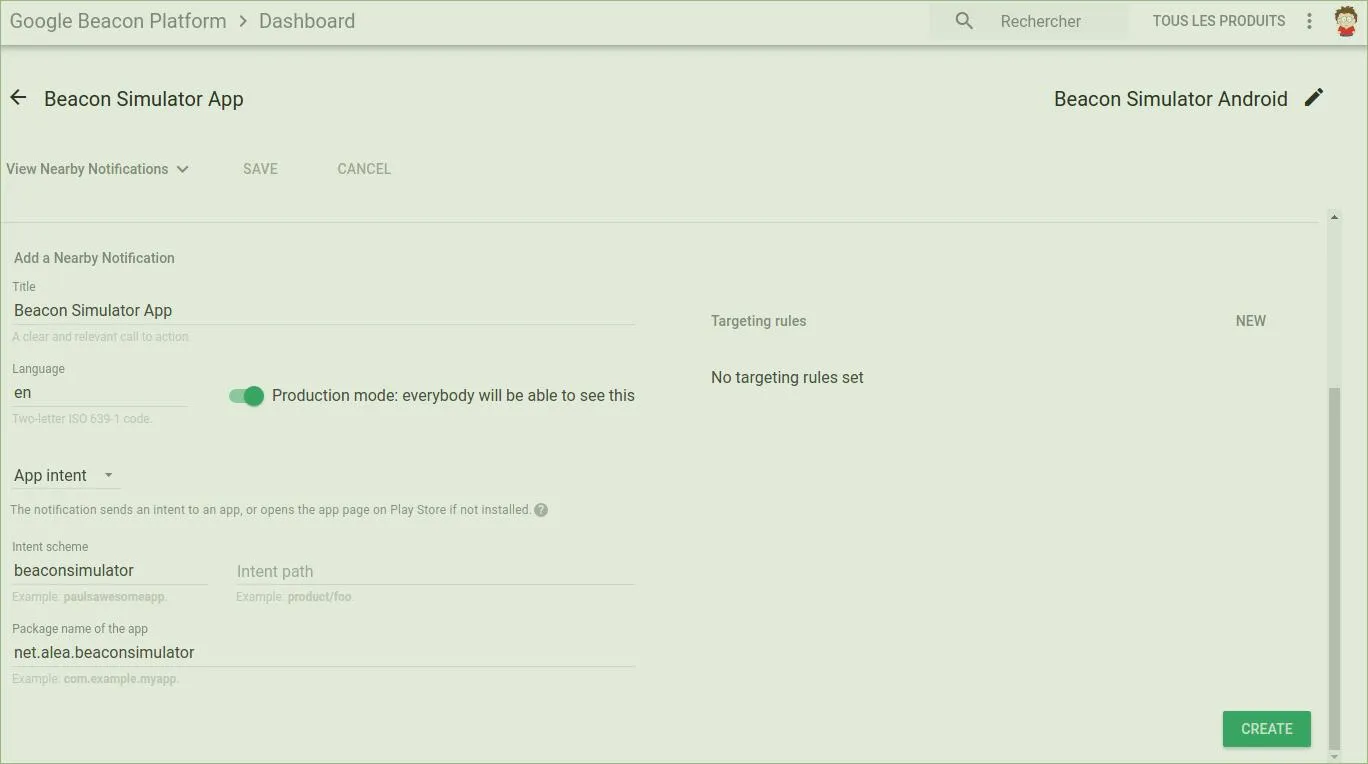
Do not forget to:
- click on the Create button at the bottom
- and click on the Save button at the top
You can create other configurations (e.g. availability for other languages) by duplicating a previous configuraiton.
I realy hope they will enhance this interface.
Result
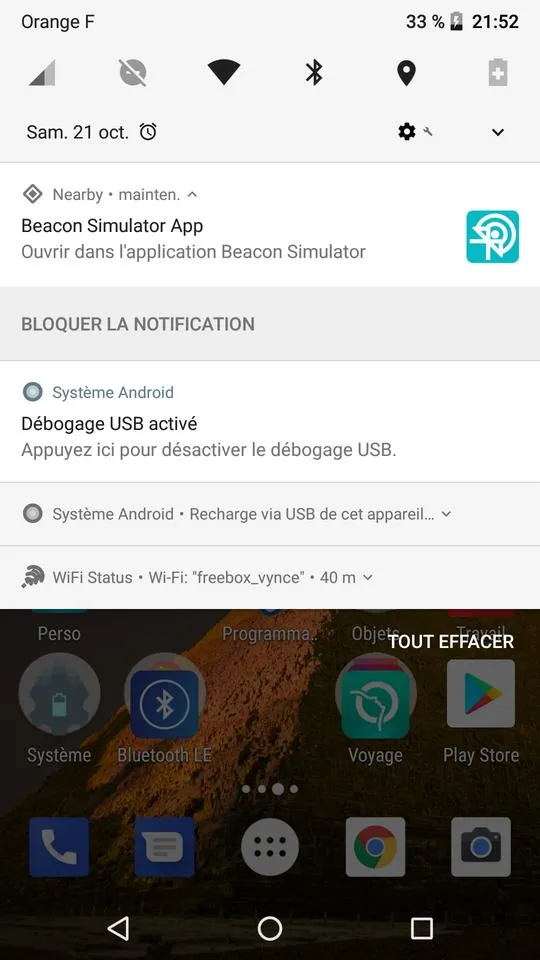
Now you should be able to have a Nearby notification with a reference of Beacon Simulator. If you have troubles, check again at the needed conditions to perform a valid scan.
You can modify in which conditions the notification appears using Google Beacon Dashboard. For instance, you can choose to disable the notification if the user already have the application installed.
